Strawberry Shortcake Bars
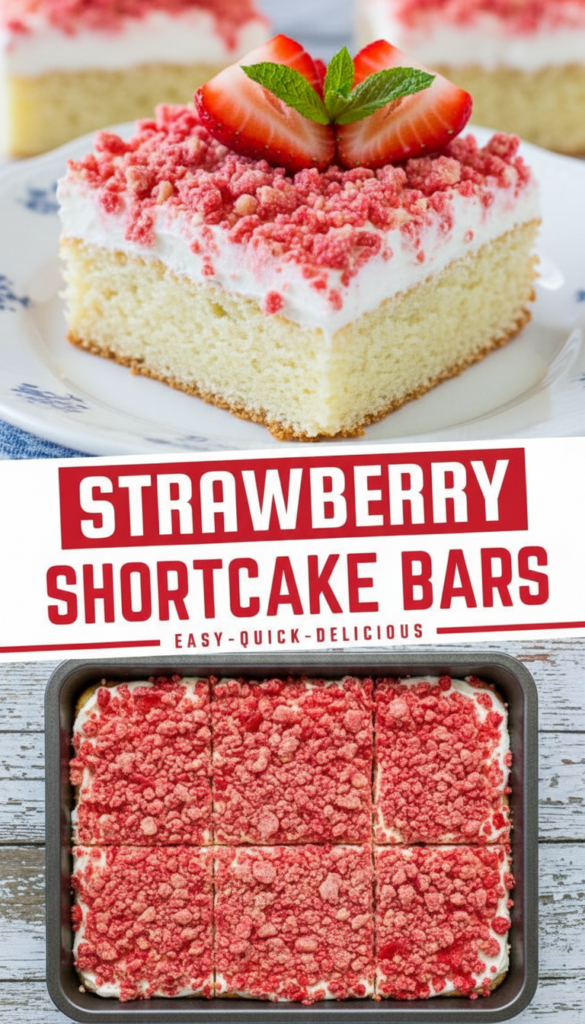
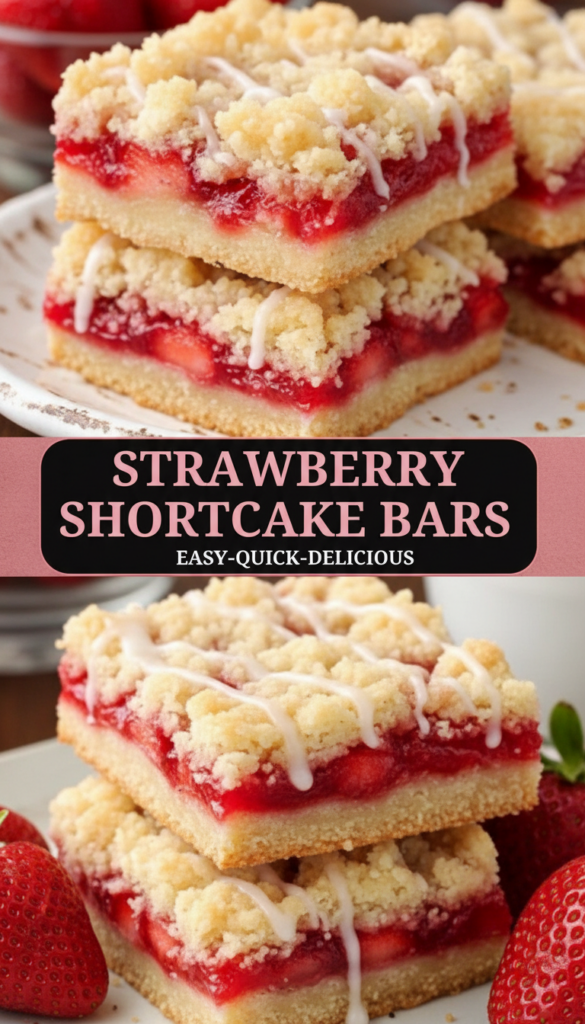
Introduction Nothing says summer quite like fresh strawberries! With their vibrant red color and delightful sweetness, they are the star of our delicious Strawberry Shortcake Bars. These treats are the …

Introduction Nothing says summer quite like fresh strawberries! With their vibrant red color and delightful sweetness, they are the star of our delicious Strawberry Shortcake Bars. These treats are the …
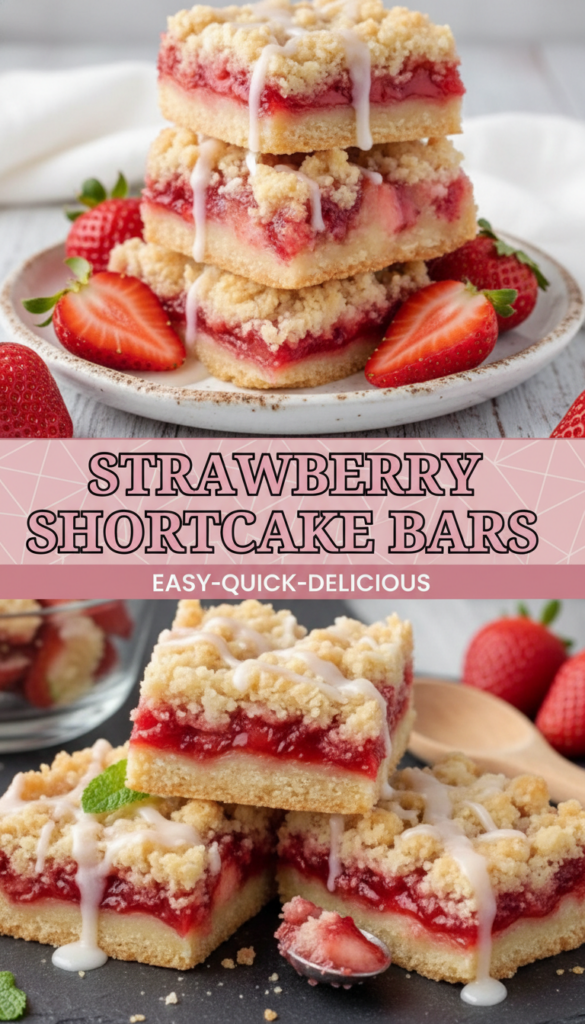
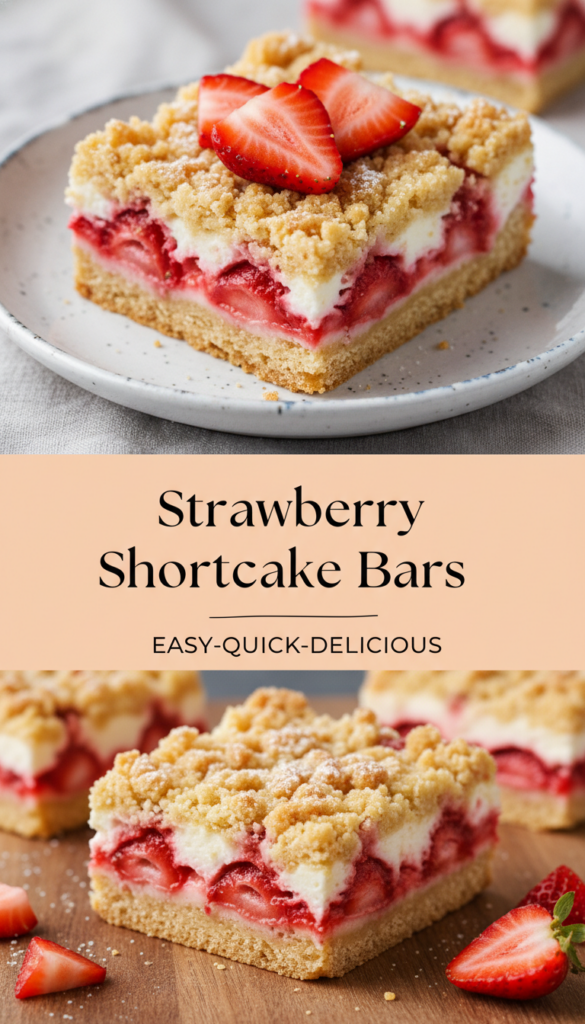
Introduction There’s something irresistibly comforting about the classic combination of strawberries and cream, especially when it’s packed into delightful bars. These Strawberry Shortcake Bars are a summertime treat that bursts …
Introduction Nothing says summer quite like the sweet, juicy burst of fresh strawberries. These delightful Strawberry Shortcake Bars are the perfect way to enjoy the fruit of the season! With …
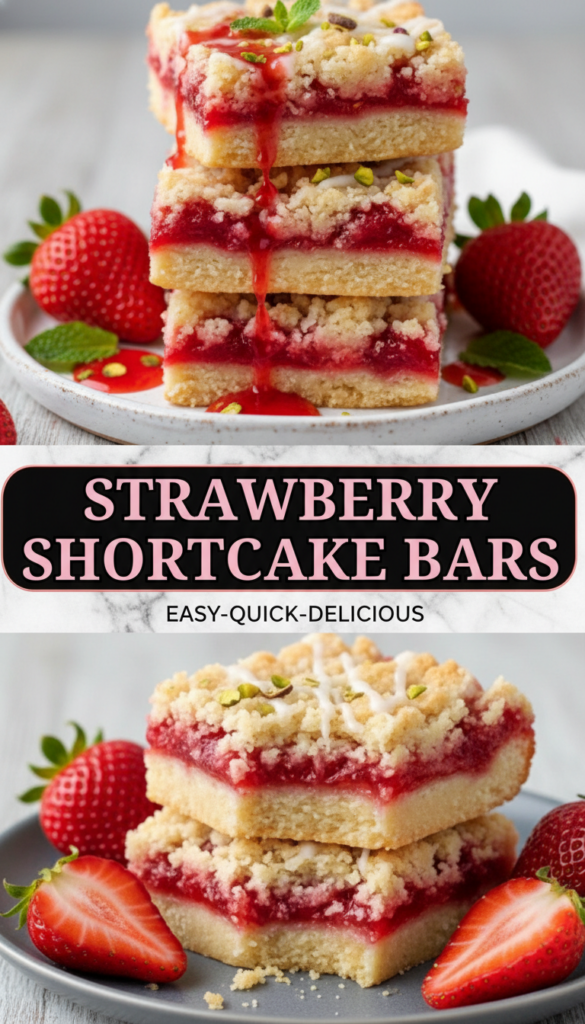
Introduction If you’re looking for a delightful dessert that captures the essence of summer in every bite, look no further than these delicious Strawberry Shortcake Bars! Bursting with sweet, juicy …
Introduction There’s something undeniably delightful about indulging in a classic dessert, and these Strawberry Shortcake Bars are the perfect treat to brighten your day! With their buttery, golden crust and …
Introduction When summer rolls around and fresh strawberries are at their peak, there’s nothing quite like the joy of biting into a sweet treat that captures all those delicious flavors. …
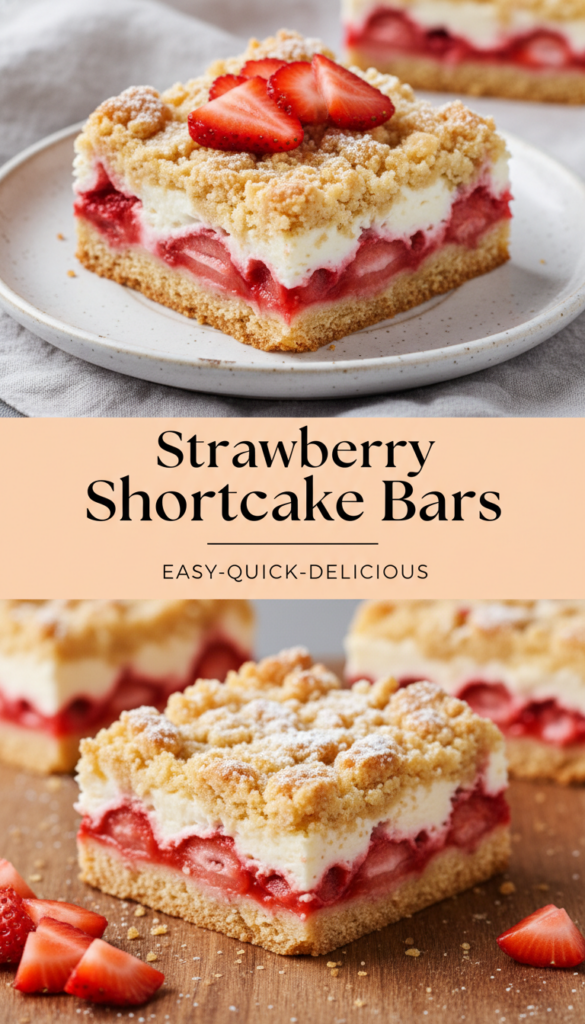
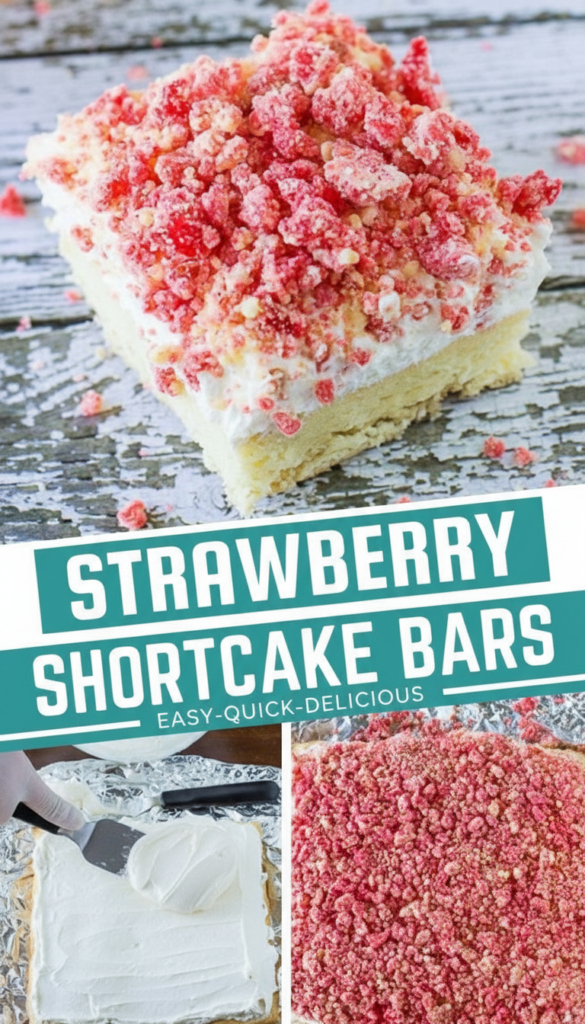
Introduction There’s something irresistibly charming about strawberry shortcake, especially when it comes to enjoying it in bar form. These Strawberry Shortcake Bars are a delightful twist on the classic dessert, …
Introduction If you’re looking for a delightful dessert that screams summer, these Strawberry Shortcake Bars are just the ticket! Imagine layers of soft, buttery cake infused with the freshness of …
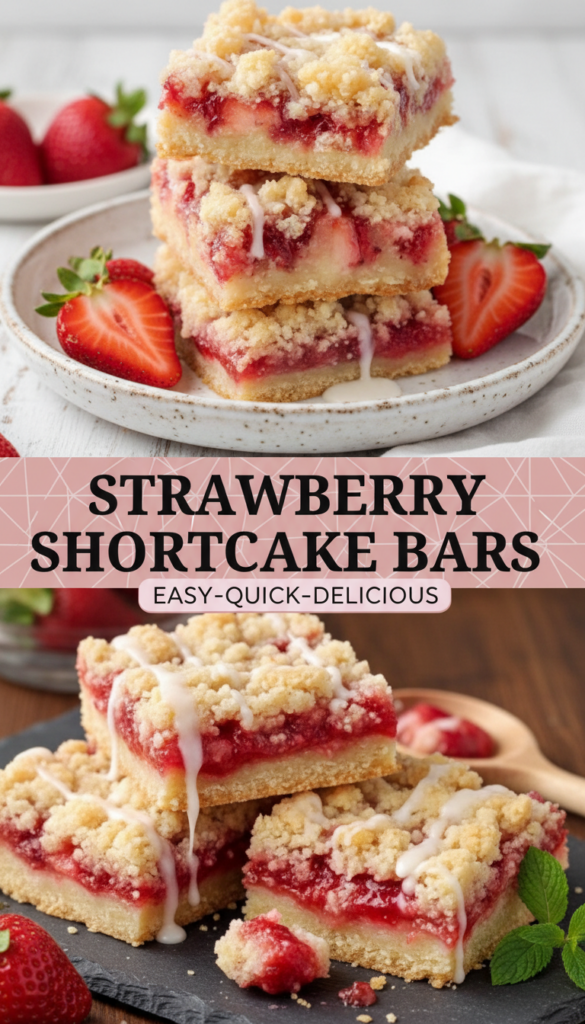
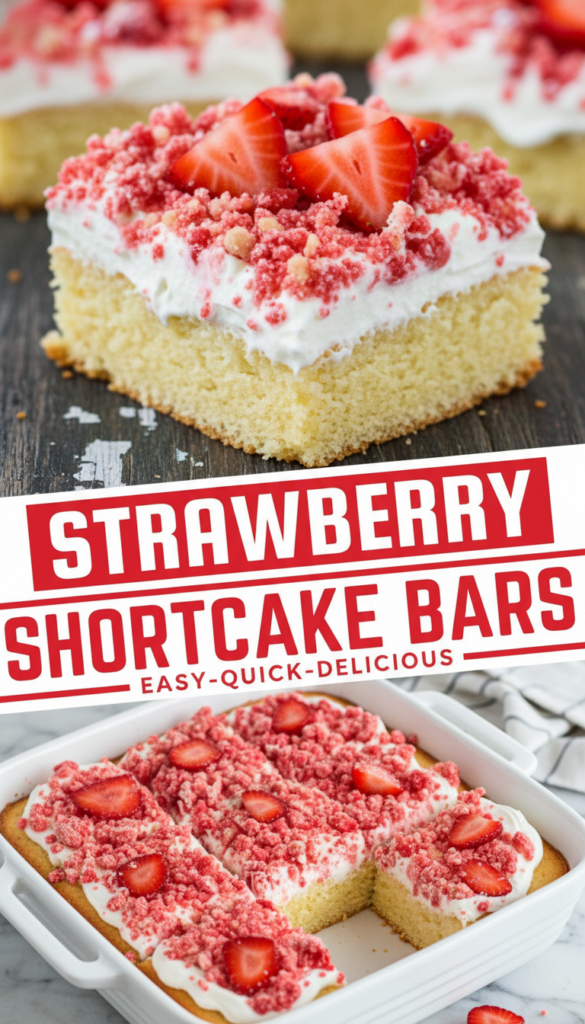
Introduction There’s something undeniably delightful about strawberry shortcake, and these Strawberry Shortcake Bars bring that classic flavor into a convenient and shareable treat. With layers of crumbly oat crust, fresh …
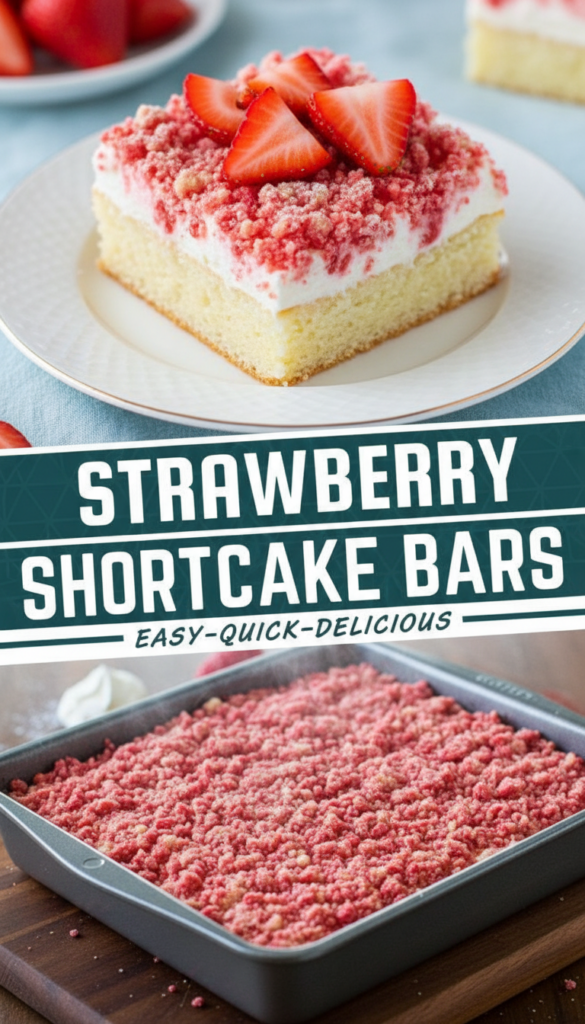
Introduction There’s something undeniably delightful about the combination of ripe strawberries and soft, buttery cake. Strawberry shortcake bars bring that classic flavor into a convenient, shareable dessert that’s perfect for …