Cowboy Casserole
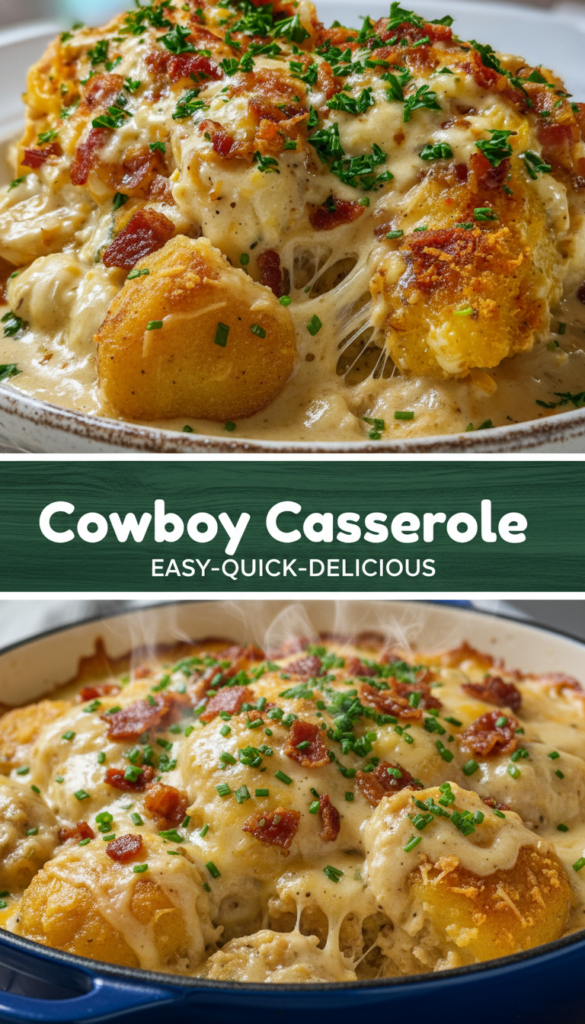
Introduction There’s something incredibly comforting about a warm, hearty casserole, and this Cowboy Casserole delivers all that deliciousness in one dish! Packed with ground beef, sweet corn, creamy mushroom soup, …

Introduction There’s something incredibly comforting about a warm, hearty casserole, and this Cowboy Casserole delivers all that deliciousness in one dish! Packed with ground beef, sweet corn, creamy mushroom soup, …
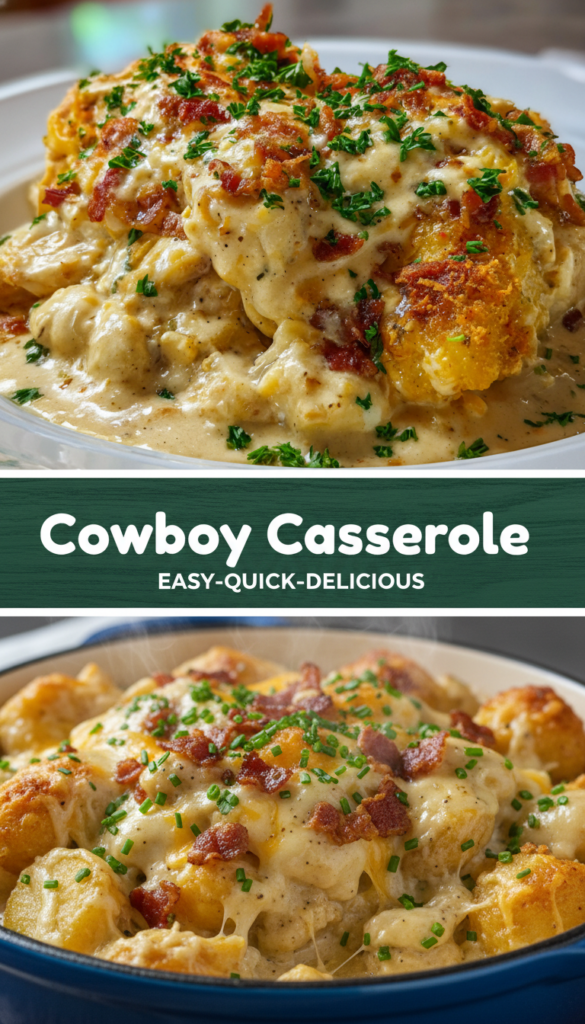
Introduction Welcome to the ultimate comfort food experience! This Cowboy Casserole is the perfect blend of savory goodness that brings families together. With layers of perfectly seasoned ground beef, creamy …
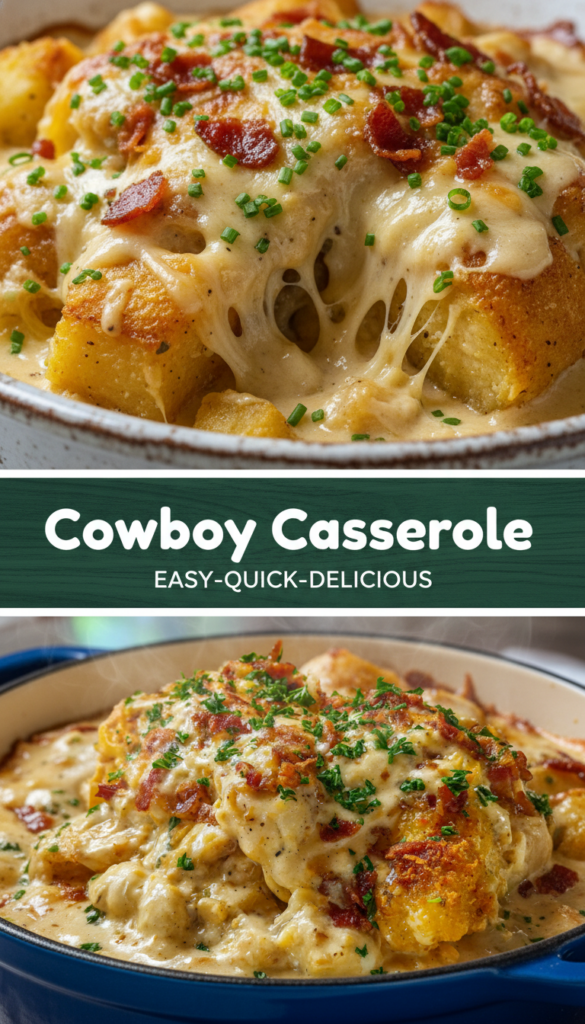
Introduction There’s something undeniably comforting about a warm, hearty casserole, and this Cowboy Casserole is no exception! Bursting with flavor and brimming with simple, satisfying ingredients, it’s an ideal dish …
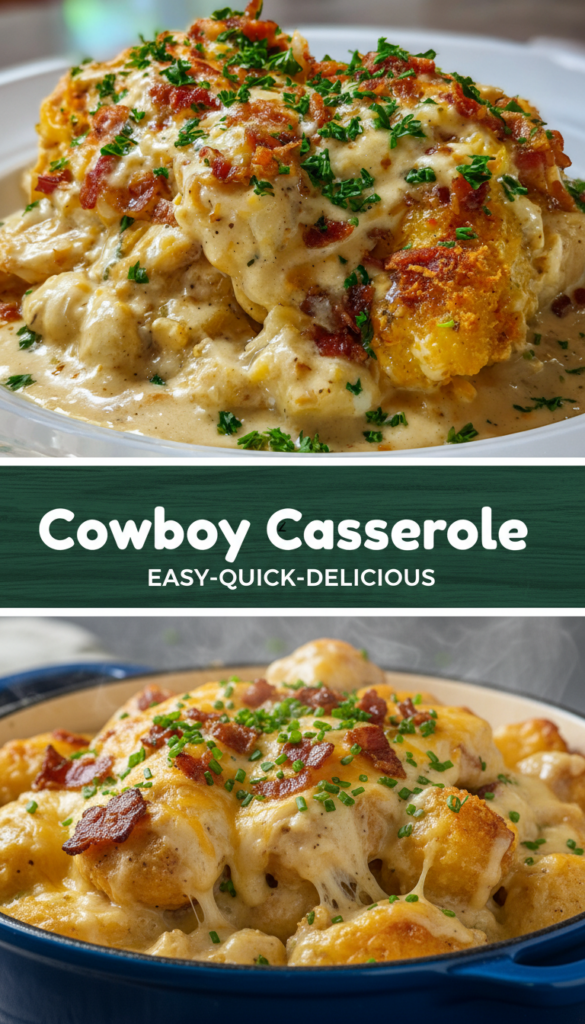
Introduction Nothing warms the soul quite like a hearty casserole, and this Cowboy Casserole is all about comfort food bliss! With its savory blend of ground beef, creamy mushroom soup, …