Seafood Lasagna with Lobster and Shrimp
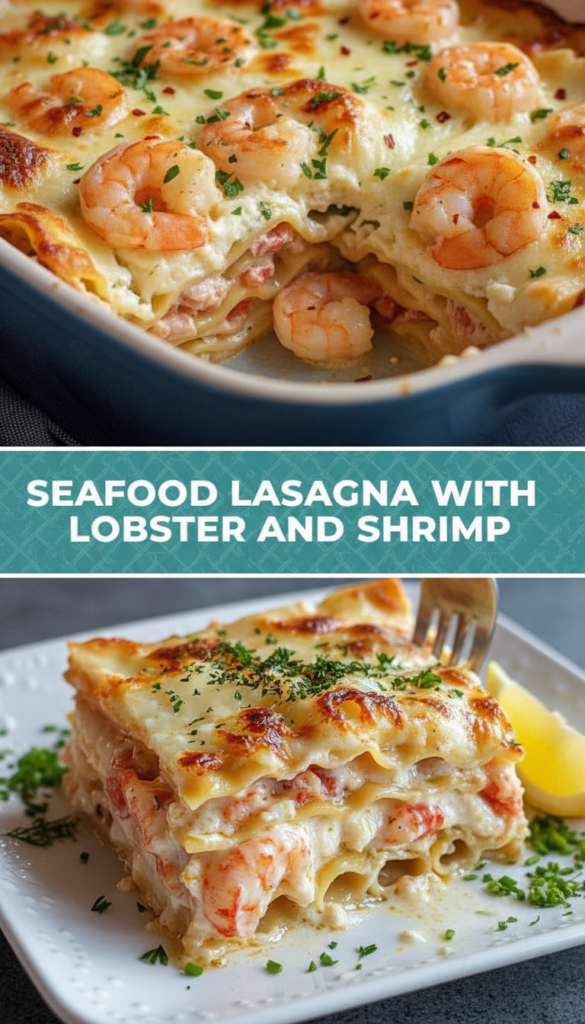
Introduction Welcome to a culinary adventure that brings the taste of the ocean right into your kitchen! This Seafood Lasagna with Lobster and Shrimp is a delightful twist on the …

Introduction Welcome to a culinary adventure that brings the taste of the ocean right into your kitchen! This Seafood Lasagna with Lobster and Shrimp is a delightful twist on the …
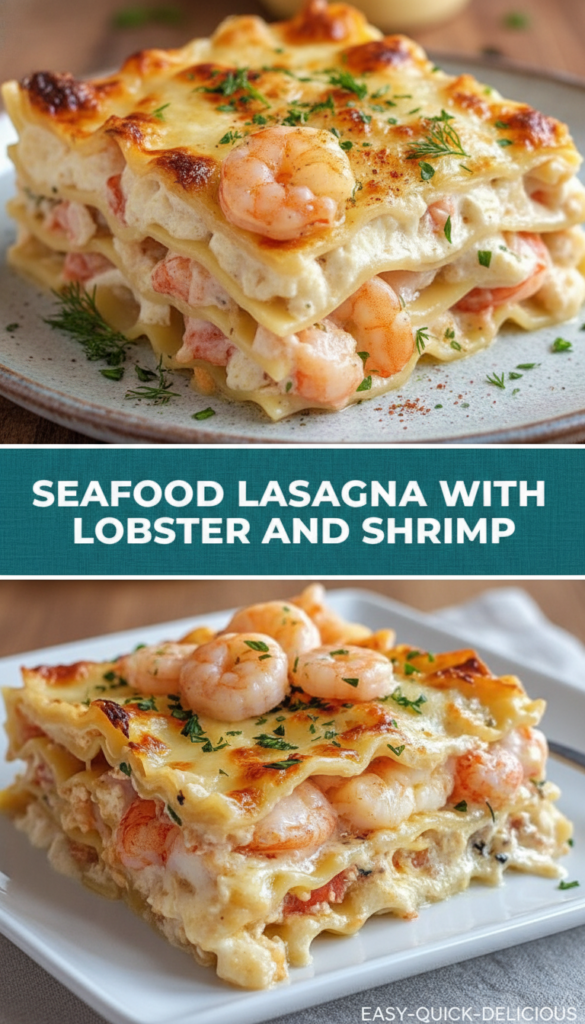
Introduction Welcome to a delightful seafood experience that will take your taste buds on a journey! This Seafood Lasagna with Lobster and Shrimp is a luscious blend of rich flavors …

Introduction Welcome to a seafood lover’s paradise! This delightful Seafood Lasagna with Lobster and Shrimp manages to combine the rich, creamy textures of lasagna with the fresh, vibrant flavors of …
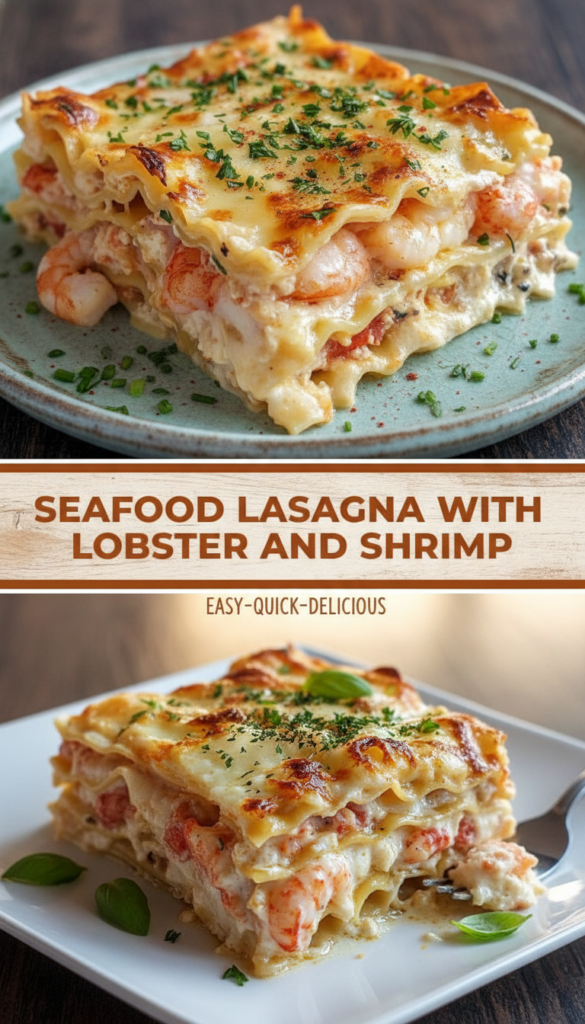
Introduction Welcome to a delightful culinary adventure that combines the luxurious flavors of the ocean with the comforting warmth of a classic lasagna! This Seafood Lasagna with Lobster and Shrimp …